

How to install electrical and plumbing systems in a steel frame building?
Hey there! As a steel frame supplier, I've had my fair share of experiences with installing electrical and plumbing systems in steel frame buildings. It's a task that requires a good mix of know - how, the right tools, and a bit of patience. In this blog, I'm gonna walk you through the whole process, step by step.
Planning Phase
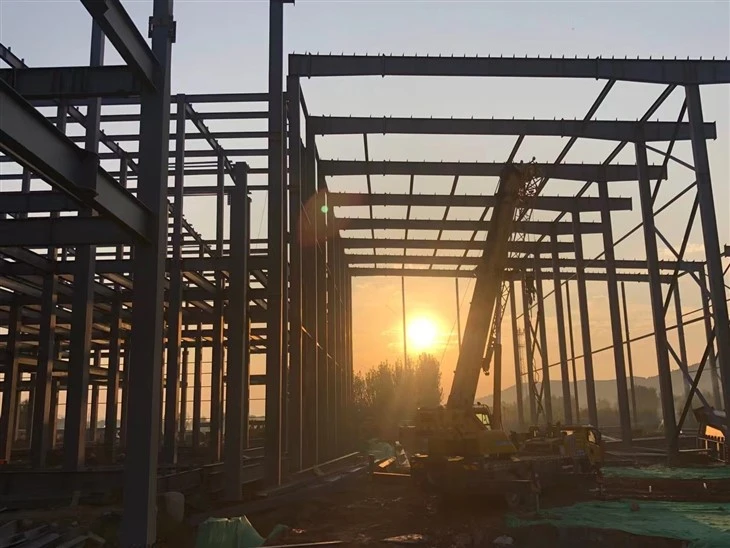
Before you even start getting your hands dirty, you need to have a solid plan. First off, you gotta understand the layout of the steel frame building. The steel beam structure plays a crucial role here. You need to know where the main beams and columns are, as they'll affect where you can run your electrical and plumbing lines.
Get hold of the building's blueprints. They'll show you the exact dimensions and locations of all the structural elements. Mark out the areas where you plan to install electrical outlets, switches, and plumbing fixtures like sinks, toilets, and showers. Make sure these locations make sense in terms of the building's intended use.
Also, check local building codes and regulations. These rules are there to ensure safety, and you don't wanna end up with a big fine or having to redo your work. Different areas might have different requirements for things like wire gauge, pipe material, and installation methods.
Electrical System Installation
Running the Wires
Once you've got your plan in place, it's time to start running the electrical wires. First, you'll need to drill holes in the steel beams and columns. But be careful! You don't wanna weaken the Portal Frame H - steel Column And Beam. Use a proper drill bit designed for steel, and make sure the holes are big enough for the wires but not too large.
When running the wires, try to keep them organized. Use cable ties or conduit to bundle them together. This not only looks neater but also makes it easier to troubleshoot any problems down the road. You can run the wires along the sides of the beams or through the holes you've drilled.
Installing Outlets and Switches
After the wires are in place, it's time to install the electrical outlets and switches. Mount the outlet and switch boxes to the steel frame using screws. Make sure they're level and secure. Then, connect the wires to the outlets and switches according to the wiring diagram. Double - check your connections to avoid any short circuits.
Main Electrical Panel
The main electrical panel is the heart of the electrical system. It distributes power throughout the building. Mount the panel in a dry, accessible location. Connect the incoming power supply to the panel, and then connect the individual circuits to the appropriate breakers. Test the panel to make sure everything is working properly.
Plumbing System Installation
Pipe Routing
Just like with the electrical wires, you need to plan the routing of your plumbing pipes. The Latticed Column and other steel frame components can influence where you can run the pipes. You'll want to avoid running pipes through areas where they might get damaged or interfere with the building's structure.
Use a pipe cutter to cut the pipes to the right length. Make sure the cuts are clean and straight. You can use different types of pipes, such as PVC, copper, or PEX, depending on your needs and local codes.
Joining the Pipes
There are different ways to join the pipes together. For PVC pipes, you can use solvent cement to create a strong, permanent bond. Copper pipes can be soldered using a torch and solder. PEX pipes can be joined using special fittings. Make sure the joints are tight and leak - free.
Installing Fixtures
Once the pipes are in place, it's time to install the plumbing fixtures. Start with the sinks, toilets, and showers. Follow the manufacturer's instructions carefully. Connect the fixtures to the pipes using the appropriate fittings. Test each fixture for leaks by turning on the water.
Safety Considerations
Safety should always be your top priority when installing electrical and plumbing systems in a steel frame building. When working with electricity, make sure the power is turned off at the main panel. Use insulated tools to avoid electric shocks.
When working with plumbing, be careful when handling sharp pipes and tools. Wear safety goggles to protect your eyes from debris. If you're using a torch for soldering copper pipes, make sure you have a fire extinguisher nearby.
Quality Control
After you've completed the installation of both the electrical and plumbing systems, it's important to do a thorough quality control check. For the electrical system, test all the outlets and switches to make sure they're working properly. Check for any signs of overheating or loose connections.
For the plumbing system, run water through all the fixtures and check for leaks. Inspect the joints and connections to make sure they're secure. You might also want to have a professional inspector come in and give your work a final approval.
Conclusion
Installing electrical and plumbing systems in a steel frame building is a complex but rewarding task. By following these steps, planning carefully, and paying attention to safety and quality, you can ensure a successful installation.
If you're in the market for high - quality steel frames for your building project, or if you have any questions about the installation process, don't hesitate to reach out. We're here to help you make your building project a success. Whether you're building a small shed or a large commercial building, we've got the right steel frame solutions for you. Let's start the conversation and get your project off the ground!
References
- Building Codes Handbook for Electrical and Plumbing Installations
- Steel Frame Construction Manual
- Plumbing and Electrical Installation Guides from Manufacturers