

How to paint a hen house?
Hey there! As a hen house supplier, I've seen firsthand how a well - painted hen house can not only look great but also extend the life of the structure. In this blog, I'm gonna walk you through the steps of painting a hen house.
Step 1: Planning and Preparation
Before you even think about picking up a paintbrush, you need to do some planning. First off, measure your hen house. This will help you figure out how much paint you'll need. You don't want to run out of paint halfway through the job!
Next, choose the right paint. You want a paint that's durable and can withstand the elements. Since hens produce a lot of moisture and ammonia, you'll need a paint that's resistant to these things. Look for exterior - grade paints that are also non - toxic, because you don't want to harm your feathered friends.
Now, let's talk about tools. You'll need paintbrushes, rollers, a paint tray, and a ladder if your hen house is tall. Make sure your tools are clean and in good condition. It's also a good idea to have some sandpaper on hand to smooth out any rough spots on the hen house.
Step 2: Cleaning the Hen House
The hen house has to be clean before you start painting. Remove all the hens and their belongings from the house. Use a stiff brush and some soapy water to scrub down the walls, floors, and ceilings. Pay special attention to areas with a lot of dirt and droppings.
After scrubbing, rinse the hen house thoroughly with a hose. Let it dry completely. This might take a day or two, depending on the weather. You can speed up the drying process by opening the doors and windows to let in some fresh air.
Step 3: Repairing and Sanding
While the hen house is drying, take a good look at the structure. Check for any loose boards, nails, or holes. If you find any, fix them up. Replace any damaged boards and hammer in loose nails.
Once the repairs are done, it's time to sand the surfaces. Sanding helps the paint adhere better. Use medium - grit sandpaper to smooth out any rough areas, and then follow up with fine - grit sandpaper for a really smooth finish. Wipe away the dust with a clean cloth.
Step 4: Priming
Priming is an important step that shouldn't be skipped. A good primer will help the paint stick better and provide an extra layer of protection. Choose a primer that's suitable for the type of paint you're using.
Use a paintbrush or a roller to apply the primer evenly to the hen house. Start from the top and work your way down. Make sure to cover all the surfaces, including the nooks and crannies. Let the primer dry according to the manufacturer's instructions. This usually takes a few hours.
Step 5: Painting
Now comes the fun part - painting! Open your paint can and stir it well. Dip your paintbrush or roller into the paint and start applying it to the hen house. Work in small sections to ensure an even coat.
I recommend using a roller for large, flat surfaces as it can cover more area quickly. Use a paintbrush for the edges, corners, and areas that are hard to reach. Apply at least two coats of paint, allowing each coat to dry completely between applications. This will give you a more durable and long - lasting finish.
Step 6: Adding Some Finishing Touches
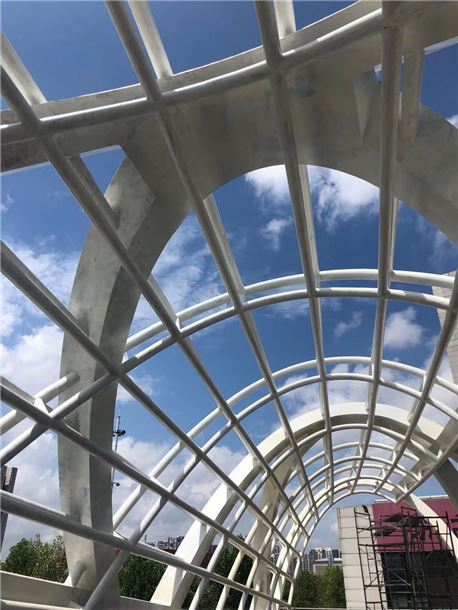
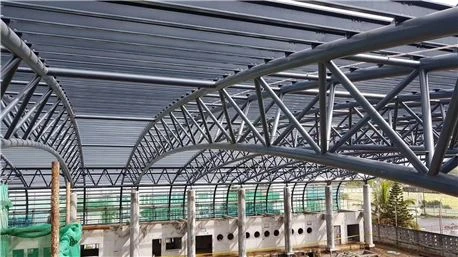
Once the paint is dry, you can add some finishing touches. You might want to add some trim or decorations to make your hen house look even better. You could also consider adding a steel beam structure for extra support if your hen house is large.
If you live in an area with a lot of snow, you might be interested in the Design of Steel Trusses for Roofing Snow Load Calculations. This can help ensure your hen house can handle the weight of the snow.
And if you're looking for a pre - built option, check out the Pre - Construction Steel Frame Workshop China Heavy Industry Steel Structure Building. It could be a great solution for your hen house needs.
Why Choose Our Hen Houses?
At our company, we've been in the hen house business for years. We offer high - quality hen houses made from the best materials. Our designs are not only functional but also stylish. We understand the needs of hens and their owners, and we strive to provide the best products.
If you're planning to paint your hen house or are in the market for a new one, we're here to help. Our team of experts can offer you advice on painting, as well as help you choose the right hen house for your flock.
Contact Us for More
If you're interested in our hen houses or have any questions about painting a hen house, feel free to reach out. We're always happy to have a chat and discuss your needs. Whether you're a small - scale backyard chicken keeper or a large - scale farmer, we've got solutions for you.
References
- General knowledge from years of experience in the hen house supply industry.
- Paint and building material manufacturers' guidelines.